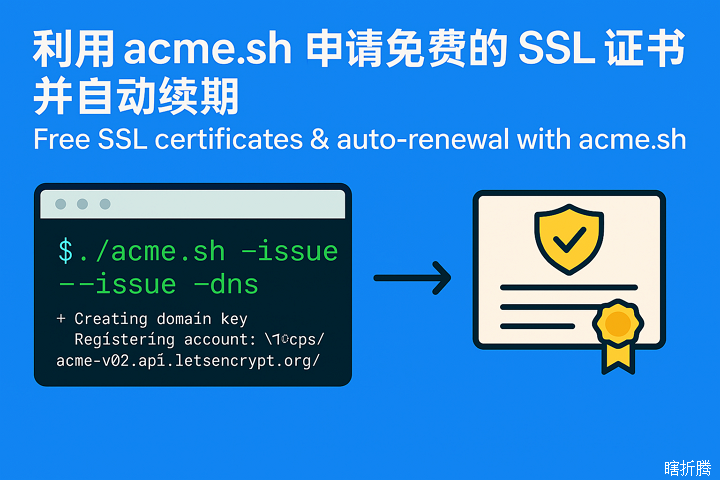
利用acme.sh申请免费的SSL证书并自动续期
一、安装 acme.sh
输入下面命令安装,邮箱随意填写
1 | curl https://get.acme.sh | sh -s [email protected] |
更多安装方法请查阅:https://github.com/acmesh-official/acme.sh/wiki/How-to-install
二、生成证书
acme.sh 实现了 acme 协议支持的所有验证协议. 一般有两种方式验证: http 和 dns 验证.
- http 方式需要在你的网站根目录下放置一个文件, 来验证你的域名所有权,完成验证. 然后就可以生成证书了。
1 | acme.sh --issue -d mydomain.com -d www.mydomain.com --webroot /home/wwwroot/mydomain.com/ |
只需要指定域名, 并指定域名所在的网站根目录. acme.sh 会全自动的生成验证文件, 并放到网站的根目录, 然后自动完成验证. 最后会聪明的删除验证文件. 整个过程没有任何副作用。
如果你用的 apache服务器, acme.sh 还可以智能的从 apache的配置中自动完成验证, 你不需要指定网站根目录:
1 | acme.sh --issue -d mydomain.com --apache |
如果你用的 nginx服务器, 或者反代, acme.sh 还可以智能的从 nginx的配置中自动完成验证, 你不需要指定网站根目录:
1 | acme.sh --issue -d mydomain.com --nginx |
注意, 无论是 apache 还是 nginx 模式, acme.sh在完成验证之后, 会恢复到之前的状态, 都不会私自更改你本身的配置. 好处是你不用担心配置被搞坏, 也有一个缺点, 你需要自己配置 ssl 的配置, 否则只能成功生成证书, 你的网站还是无法访问https. 但是为了安全, 你还是自己手动改配置吧.
如果你还没有运行任何 web 服务, 80 端口是空闲的, 那么 acme.sh 还能假装自己是一个webserver, 临时听在80 端口, 完成验证:
1 | acme.sh --issue -d mydomain.com --standalone |
更高级的用法请参考: https://github.com/acmesh-official/acme.sh/wiki/How-to-issue-a-cert
- 手动 dns 方式, 手动在域名上添加一条 txt 解析记录, 验证域名所有权.
这种方式的好处是, 你不需要任何服务器, 不需要任何公网 ip, 只需要 dns 的解析记录即可完成验证. 坏处是,如果不同时配置 Automatic DNS API,使用这种方式 acme.sh 将无法自动更新证书,每次都需要手动再次重新解析验证域名所有权
1 | acme.sh --issue --dns -d mydomain.com \ |
然后, acme.sh 会生成相应的解析记录显示出来, 你只需要在你的域名管理面板中添加这条 txt 记录即可,等待解析完成之后, 重新生成证书:
1 | acme.sh --renew -d mydomain.com \ |
注意第二次这里用的是 –renew
dns 方式的真正强大之处在于可以使用域名解析商提供的 api 自动添加 txt 记录完成验证.
acme.sh 目前支持 cloudflare, dnspod, cloudxns, godaddy 以及 ovh 等数十种解析商的自动集成。
以 dnspod 为例, 你需要先登录到 dnspod 账号, 生成你的 api id 和 api key, 都是免费的. 然后:
1 | export DP_Id="1234" |
证书就会自动生成了. 这里给出的 api id 和 api key 会被自动记录下来, 将来你在使用 dnspod api 的时候, 就不需要再次指定了. 直接生成就好了:
1 | acme.sh --issue -d mydomain2.com --dns dns_dp |
更详细的 api 用法: https://github.com/acmesh-official/acme.sh/wiki/dnsapi
三、copy/安装 证书
前面证书生成以后, 接下来需要把证书 copy 到真正需要用它的地方。
注意, 默认生成的证书都放在安装目录下: ~/.acme.sh/, 请不要直接使用此目录下的文件, 例如: 不要直接让 nginx/apache 的配置文件使用这下面的文件. 这里面的文件都是内部使用, 而且目录结构可能会变化。
正确的使用方法是使用 –install-cert 命令,并指定目标位置, 然后证书文件会被copy到相应的位置, 例如:
Apache example:
1 | acme.sh --install-cert -d example.com \ |
Nginx example:
1 | acme.sh --install-cert -d example.com \ |
(一个小提醒, 这里用的是 service nginx force-reload, 不是 service nginx reload, 据测试, reload 并不会重新加载证书, 所以用的 force-reload)
Nginx 的配置 ssl_certificate 使用 /etc/nginx/ssl/fullchain.cer ,而非 /etc/nginx/ssl/
–install-cert命令可以携带很多参数, 来指定目标文件. 并且可以指定 reloadcmd, 当证书更新以后, reloadcmd会被自动调用,让服务器生效。
详细参数请参考: https://github.com/acmesh-official/acme.sh#3-install-the-issued-cert-to-apachenginx-etc
值得注意的是, 这里指定的所有参数都会被自动记录下来, 并在将来证书自动更新以后, 被再次自动调用
四、查看已安装证书信息
1 | acme.sh --info -d example.com |
会输出如下内容:
1 | [2024-05-04T20:46:53 CST] The domain 'example.com' seems to have a ECC cert already, lets use ecc cert. |
五、Apache2 配置
在 /etc/apache2/sites-enabled/ 目录下新建一个 example.com.conf 文件并添加以下内容:
1 | <VirtualHost *:443> |
配置完成, 执行命令 sudo systemctl restart apache2 重启 apache2 即可.
六、更新证书
目前证书在 60 天以后会自动更新, 你无需任何操作. 今后有可能会缩短这个时间, 不过都是自动的, 你不用关心.
请确保 crontab 正确安装, 看起来是类似这样的:
1 | crontab -l |
七、更新 acme.sh
目前由于 acme 协议和 letsencrypt CA 都在频繁的更新, 因此 acme.sh 也经常更新以保持同步.
手动升级 acme.sh 到最新版 :
1 | acme.sh --upgrade |
开启自动升级:
1 | acme.sh --upgrade --auto-upgrade |
关闭自动升级:
1 | acme.sh --upgrade --auto-upgrade 0 |